Windows 11 introduces an enhanced feature called Snap Layouts, allowing users to efficiently split and manage multiple open windows. Whether for work or multitasking, this feature makes it easy to arrange your desktop for maximum productivity.
What Are Snap Layouts in Windows 11?
Snap Layouts are exclusive to Windows 11, providing a visual and intuitive way to organize open windows on your screen. Unlike previous Windows versions, which relied on simple Snap Assist and drag-and-drop methods, Snap Layouts offer predefined window arrangements for a more streamlined workflow.
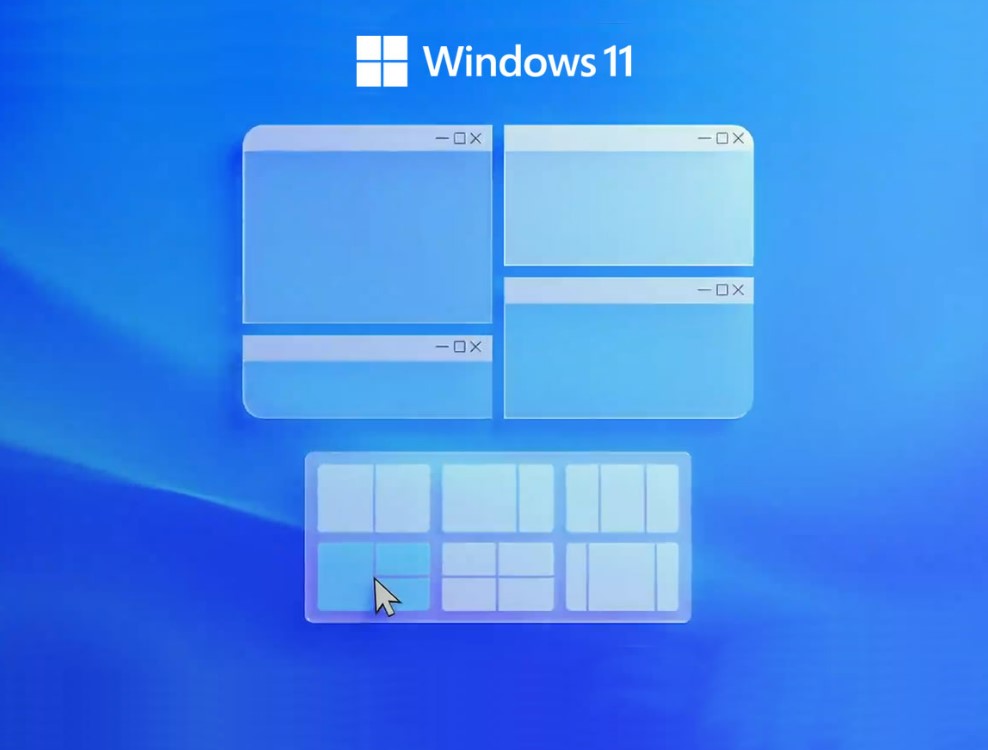
With Snap Layouts, you can split your screen into:
- Two equal halves
- Asymmetric splits (2:3 or 3:2 ratios)
- Three- or four-window grids for complex multitasking
This flexibility makes Snap Layouts especially useful for professionals managing multiple applications simultaneously.
Step-by-Step Guide: Splitting a Screen With Snap Layouts
Here’s how to use Snap Layouts in Windows 11 to split your screen:
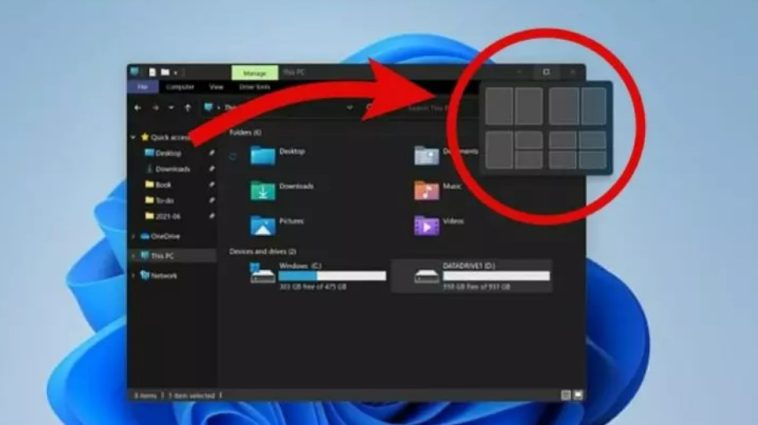
- Hover Over the Maximize Button: Move your cursor to the maximize icon in the top-right corner of any open window.
- Snap Layout Menu Appears: When hovering, a menu titled “Snap Layout” will appear, showing six layout options. Each layout supports at least two windows and visually indicates the arrangement.
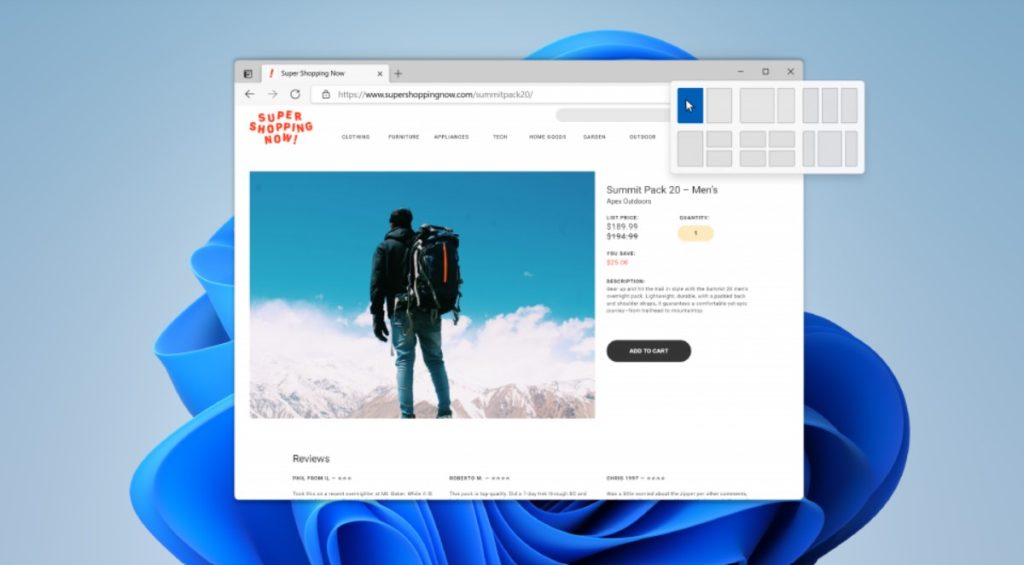
- Select Your Preferred Layout: Click on your desired layout. Windows 11 will immediately prompt you to select other windows to fill the remaining sections.
- Snap Flyout Assistance: The Snap Flyout menu helps you choose which windows to place in the empty slots, completing your desired layout.
By following these steps, you can arrange multiple windows without resizing each window manually, saving time and effort.
Using Snap Assist to Split Your Screen
Snap Assist in Windows 11 is an enhanced version of the classic Snap feature from older Windows versions. Here’s how to use it:
- Drag a Window: Click and hold the title bar of any window.
- Move It to the Top: Drag the window to the top center of the screen. The other areas of your screen will blur, showing potential Snap zones.
- Select a Zone: Drag the window to your preferred zone and release it.
- Add Additional Windows: Windows 11 will suggest other open windows to fill the remaining zones. Simply click on the windows you want to add.
- Finalize Layout: Adjust additional windows in their respective zones. Snap Assist ensures each window fits perfectly in its allocated space.
This method allows for efficient multitasking without using keyboard shortcuts and ensures that your windows remain organized.
Automatic Screen Splitting in Windows 11
Windows 11 also introduces an automatic screen splitting feature. This functionality allows users to quickly split their screen without manually dragging each window:
- Hover your cursor over the “Maximize” button of a window.
- The system displays multiple split options, including half-screen, three-quarters vs. one-quarter, or four-quadrant layouts.
- Simply click on the desired layout, and Windows 11 automatically organizes your windows accordingly.
This is particularly useful for:
- Professional users managing multiple apps
- Students working with research and notes simultaneously
- Content creators editing while referencing resources
The automatic split ensures consistent window placement, increasing efficiency and reducing manual resizing errors.
Tips for Optimizing Snap Layouts
To get the most out of Windows 11 Snap Layouts, consider these tips:
- Keyboard Shortcuts: Use
Windows + Zto open the Snap Layout menu directly. - Resize Windows: After snapping, you can drag the divider to adjust window sizes.
- Combine With Virtual Desktops: For complex workflows, create multiple virtual desktops and apply Snap Layouts to each for organized multitasking.
- Use Across Monitors: Snap Layouts also work on multiple monitors, letting you extend productivity across screens.
Differences Between Windows 10 Snap and Windows 11 Snap Layouts
While Windows 10 offered Snap Assist for splitting screens, Windows 11 expands on this with visual layouts, flexibility, and guided suggestions:
- Windows 10: Manual drag-and-drop, limited grid options
- Windows 11: Predefined layouts, Snap Flyout guidance, automatic options, and support for three or four windows
This evolution ensures better workspace management and reduces the time spent arranging windows manually.
Real-World Use Cases
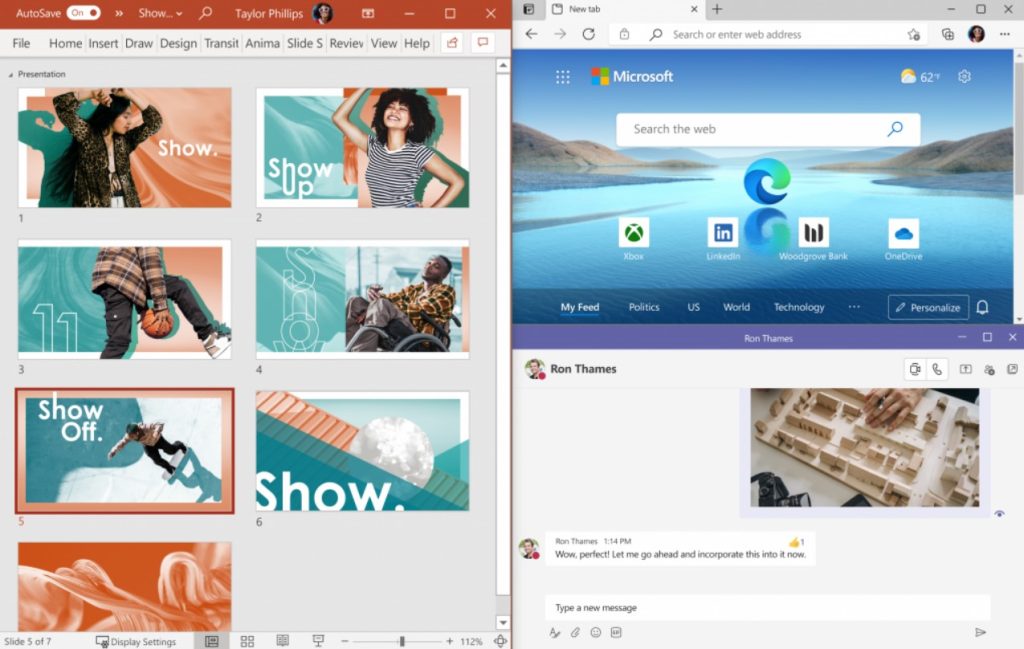
Professionals: Developers, analysts, and designers can keep reference materials, code editors, and communication apps visible simultaneously.
Students: Research papers, note-taking apps, and browsers can be displayed together for seamless study sessions.
Content Creators: Video editing software, script notes, and media libraries can occupy different screen sections for faster workflow.
With Snap Layouts, desktop organization becomes more intuitive, reducing clutter and improving focus.
Conclusion
Windows 11’s Snap Layouts and enhanced Snap Assist transform multitasking into a streamlined, efficient process. By providing predefined layouts, automatic suggestions, and flexible window placement, users can manage multiple applications without frustration.
Whether you are a professional, student, or creative, Snap Layouts can significantly improve your productivity and make desktop management easier than ever before.
Mastering these features will help you get the most out of Windows 11, saving time and creating a more organized digital workspace.