If you’re wondering how to take a screenshot on MacBook, the good news is macOS makes this pretty simple once you know the right keyboard shortcuts. There’s no separate app you need to download — it’s all built in. Let’s go through the actual shortcuts and where your screenshots end up.
Quick Answer
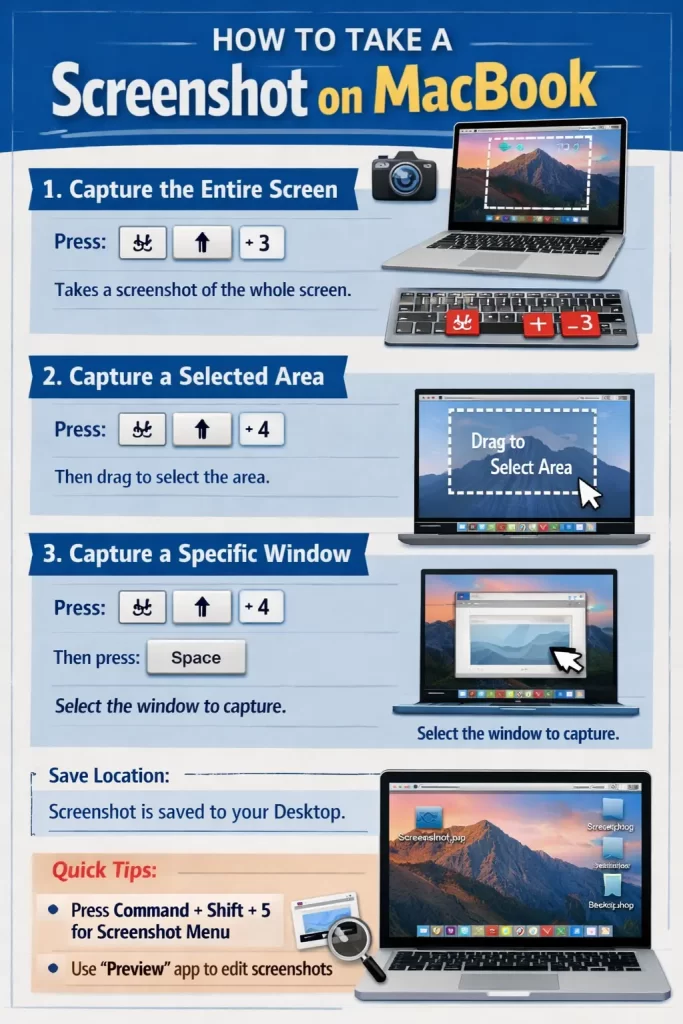
- Entire screen: Shift + Command + 3
- Select an area: Shift + Command + 4
- Specific window: Shift + Command + 4, then press Spacebar
- Screenshot toolbar with more options: Shift + Command + 5
- Screenshots save to your Desktop by default as PNG files
Screenshot Shortcuts Explained
Capture the Whole Screen
Press Shift + Command + 3 and macOS instantly captures everything on your display. You’ll hear a camera shutter sound and see a small thumbnail pop up in the corner — click it if you want to mark it up right away, or just let it save automatically.
Capture a Selected Area
Press Shift + Command + 4 and your cursor turns into a crosshair. Click and drag over the area you want, then release. This is the one I use most, honestly, since I rarely need the entire screen.
Capture a Specific Window
Press Shift + Command + 4, then tap the Spacebar. Your cursor turns into a little camera icon — hover over any open window and click it. macOS grabs just that window, complete with a clean drop shadow around the edges.
Use the Screenshot Toolbar
Press Shift + Command + 5 to bring up a small toolbar at the bottom of the screen. This gives you buttons for full screen, window, and selected area capture, plus options for screen recording. It also lets you set a timer and choose where the screenshot saves — useful if you don’t want everything cluttering your Desktop.
Where Screenshots Are Saved
By default, every screenshot lands on your Desktop as a .png file, named something like “Screenshot 2026-07-12 at 3.42.11 PM.” If you want to change this — say, save straight to Documents or a specific folder instead — open the Shift + Command + 5 toolbar, click “Options,” and pick a different save location.
Copying a Screenshot Instead of Saving It
Add Control to any of the shortcuts above (so Control + Shift + Command + 3, for example) and instead of saving a file, macOS copies the screenshot directly to your clipboard. That’s handy if you just want to paste it into an email or a chat without a file cluttering your Desktop.
Markup and Annotation
After taking a screenshot, click the thumbnail that appears in the bottom corner before it disappears. This opens Markup, where you can draw arrows, add text, crop, or highlight parts of the image — all without opening a separate app. If you miss the thumbnail, don’t worry, the screenshot’s already saved and you can open it normally to edit later.
Common Issues
Shortcuts not working at all. Usually a keyboard shortcut conflict — check System Settings > Keyboard > Keyboard Shortcuts > Screenshots to make sure nothing’s been remapped or disabled.
Screenshots not saving anywhere visible. Check the save location set in the Shift + Command + 5 toolbar options — it might be pointing somewhere other than the Desktop.
No shutter sound. This just means your Mac’s sound is muted or the volume is turned down — the screenshot still saves fine either way.
FAQ
How do I take a screenshot on MacBook without a mouse? All the shortcuts above work entirely with the keyboard and trackpad — no mouse needed.
Can I screenshot just part of a window? Yes, use Shift + Command + 4 and drag over just the section you want, even within a single window.
Where do screenshots go on a MacBook by default? Straight to the Desktop as PNG files, unless you’ve changed the save location in the screenshot toolbar.
Does screenshotting work the same on all MacBook models? Yes, the shortcuts are identical across Intel and Apple Silicon MacBooks running modern macOS versions.
Can I record my screen instead of just taking a screenshot? Yes — press Shift + Command + 5 and choose one of the screen recording options in the toolbar.
Editor’s Opinion
This is honestly one of those things that’s way easier than people expect once they know the shortcuts. Shift+Cmd+4 covers like 90% of what most people actually need day to day. Worth just memorizing that one if nothing else.
