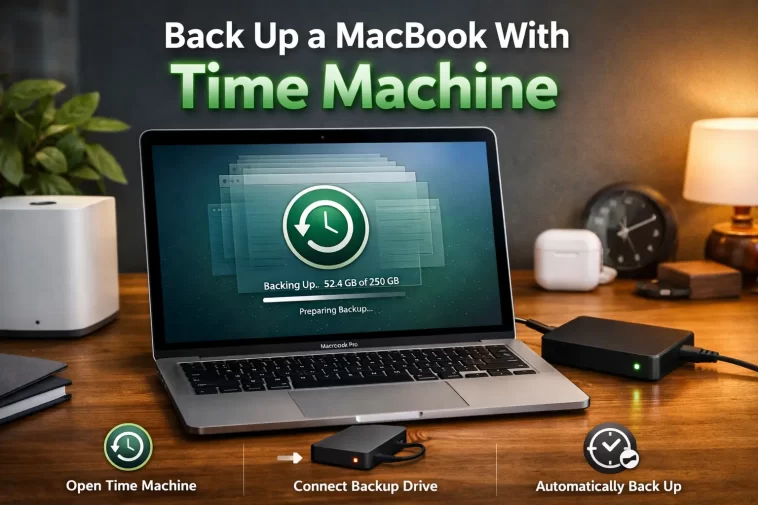
Time Machine backup on MacBook is Apple’s built-in way to automatically save copies of your entire drive, so a dead SSD or a bad update doesn’t wipe out years of files. I put off setting mine up for way longer than I should have — the kind of thing you only regret once, right after a failed migration cost me a folder I actually needed. Here’s how to set it up properly, and what tends to go wrong if you don’t.
Quick Answer
- Connect an external drive, then go to System Settings > General > Time Machine and click “Add Backup Disk”
- First backup takes hours, depending on how much data you have and drive speed
- After that, backups run automatically every hour in the background, no action needed
- Use APFS or Mac OS Extended formatting — the drive gets erased during setup either way, so back up anything on it first
- Network backups (via NAS or Time Capsule) work too, just slower than a direct connection
What You Need Before Starting
An external drive with enough space — Apple recommends at least twice your MacBook’s storage capacity, though honestly more headroom means more backup history before old ones get deleted. A USB-C or Thunderbolt drive works fastest; older USB-A drives still work, just slower for that first big backup.
And one thing people skip: check that the drive doesn’t have important files on it already. Time Machine erases and reformats the drive as part of setup, not after — so pull anything you need off it first.
Step-by-Step: Setting Up Time Machine
Step 1: Connect your external drive
Plug it in directly, or connect it over the network if you’re using a NAS or Time Capsule setup. Give the Mac a few seconds to recognize it before moving on.
Step 2: Open Time Machine settings
Go to > System Settings > General > Time Machine.
Step 3: Add the backup disk
Click “Add Backup Disk,” select your external drive from the list, and confirm. macOS will ask to erase and format the drive — this is normal and expected, not an error.
Step 4: Choose encryption (optional, recommended)
There’s a checkbox for “Encrypt Backup Disk.” Turning this on adds a password requirement to restore from the backup later. Worth it if the drive ever gets lost or stolen, though skip it if you’re the forgetful type with passwords, since there’s no recovery option if you lose it.
Step 5: Let the first backup run
This is the slow part. A first backup on a mostly-full 512GB drive can take 3-6 hours depending on drive speed. Leave the Mac plugged in and awake — closing the lid mid-backup on a laptop pauses it until you open it again.
Step 6: Confirm automatic backups are running
Once the first one finishes, Time Machine backs up automatically every hour whenever the drive’s connected. You’ll see a small clock icon appear in the menu bar if you enabled that option during setup.
Excluding Folders From Backup
Not everything needs backing up — big media libraries or download folders can bloat backup size for no real reason.
In System Settings > General > Time Machine, click “Options” and use the “+” button to add folders you want skipped. Common candidates: Downloads, large video project folders, or anything already backed up somewhere else like cloud storage.
Restoring From a Time Machine Backup
There are two situations here, and they work differently.
Restoring individual files: Open Time Machine from the menu bar icon (or Launchpad), and use the timeline on the right side of the screen to browse backups by date. Find the file, select it, and click “Restore.”
Restoring an entire Mac (after a wipe, migration, or new machine): Boot into Recovery Mode — hold power on Apple Silicon until you see startup options, or Cmd+R on Intel during boot — then choose “Restore from Time Machine Backup” and follow the prompts. This one takes a while too, so don’t start it if you’re in a hurry.
Common Time Machine Problems
Backup stuck at “Preparing backup” for a long time. Usually happens on the first backup, or after a big data change. From what I’ve seen, it’s rarely actually frozen — it’s indexing what needs copying, which can take longer than the copy itself on a full drive.
“Backup disk is not available” error. Often means the drive disconnected briefly, or it’s formatted incorrectly. Reconnect it, and if the error persists, check Disk Utility to confirm the drive still shows up and is healthy.
Backups stopped running automatically. Check System Settings > Time Machine to confirm the toggle didn’t get switched off, which can happen after a macOS update in rare cases. Also check the drive is actually connected — obvious, but it’s the most common cause by far.
Time Machine using way more space than expected. This is normal to some degree, since it keeps hourly backups for 24 hours, daily for a month, and weekly beyond that. But if it’s filling the drive unusually fast, check for large folders that should’ve been excluded and weren’t.
Prevention and Best Practices
- Keep the backup drive connected as often as possible — Time Machine can’t back up what it can’t reach
- Don’t rely on Time Machine as your only backup if the data’s genuinely irreplaceable; a second off-site or cloud copy matters for anything critical
- Replace the backup drive every few years, since external drives fail more often than people expect
- Check backup status occasionally in System Settings rather than assuming it’s working silently forever
FAQ
Can I use the same drive for Time Machine and regular file storage? Not recommended. Time Machine takes over the whole drive during setup, so mixing it with manual file storage gets messy fast.
How long does Time Machine keep old backups? Hourly backups for the past 24 hours, daily backups for the past month, and weekly backups going back as far as the drive has space for.
Does Time Machine back up while running on battery? Yes, it can, though it’s more reliable and faster when plugged in, especially for that first large backup.
Can I back up to more than one drive? Yes — Time Machine supports multiple backup destinations and will rotate between them if you set more than one up.
Is Time Machine backup the same as iCloud backup? No, they’re different systems entirely. Time Machine backs up your whole Mac to a local or network drive; iCloud syncs specific folders and settings to Apple’s servers. Using both isn’t redundant, it’s actually a decent setup.
Editor’s Opinion
Set it up once, forget about it, that’s really the whole pitch for Time Machine. People put this off for way too long, myself included, and it’s a five minute setup for something that saves you from a genuinely bad day later. Get the encryption on too if the drive ever leaves your desk.
