I avoided Terminal for way longer than I should have, mostly out of a vague fear that one wrong command would nuke my entire system. That fear isn’t completely unfounded, to be fair, but it’s also way overblown for the stuff most people actually need. So here’s how to use Terminal on MacBook without the intimidation factor, plus the handful of mistakes that actually do cause trouble.
Quick Answer
- Open Terminal via Spotlight (Cmd+Space, type “Terminal”) or Applications > Utilities.
- You’re dropped into your home folder by default — type
pwdto confirm where you are. - Basic navigation:
cdto move between folders,lsto list what’s in one. - Most commands are safe to try. The dangerous ones almost always involve
sudoandrm -rftogether — treat that combination with real caution. - Tab key auto-completes file and folder names, which saves you from typos constantly.
What Terminal Actually Is (And Isn’t)
Terminal gives you direct text-based access to macOS’s underlying Unix system — the same foundation that’s been under the hood since OS X launched. Every Mac since Catalina (2019) uses zsh as the default shell, replacing the older bash. If you’re following an old tutorial that assumes bash, most basic commands still work identically since zsh and bash share a lot of the same core syntax, but some more advanced scripting differs slightly.
It’s not some separate hidden system — it’s the same Mac you’re already using, just interacted with by typing commands instead of clicking icons. Anything Terminal can do to your files, Finder could theoretically do too, just usually with more clicks or without an equivalent option at all for some deeper stuff.
Getting Comfortable: Basic Commands
Step 1: Open Terminal and get your bearings
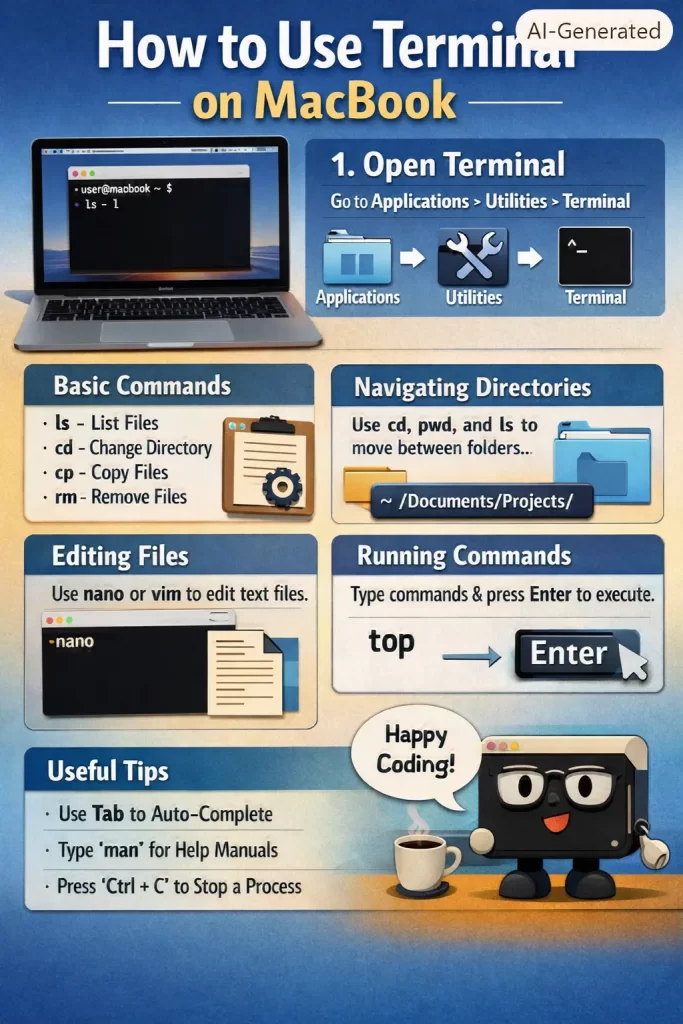
Cmd+Space, type “Terminal,” hit Enter. You’ll see a prompt, usually something like yourname@MacBook-Pro ~ %. That ~ symbol means you’re currently in your home folder.
Step 2: Check where you are
Type pwd (print working directory) and hit Enter. It’ll print out the full path of your current location, confirming what that ~ shorthand actually means in full.
Step 3: List what’s around you
Type ls and hit Enter. This lists everything in your current folder. Add -la (so, ls -la) to also see hidden files and more detail like permissions and file sizes.
Step 4: Move between folders
cd Documents moves into a Documents folder, assuming one exists where you currently are. cd .. moves up one level. cd ~ or just cd with nothing after it takes you straight back to your home folder from anywhere.
Step 5: Use Tab to autocomplete
Start typing a folder or file name and hit Tab. Terminal fills in the rest automatically, or shows you the possible matches if there’s more than one. This alone eliminates most typo-related errors.
Step 6: Try something low-risk to build confidence
date shows the current date and time. whoami shows your username. open . opens the current folder in Finder, which is a nice bridge between the two worlds if the command-line-only view still feels disorienting.
Common Errors and What They Actually Mean
“command not found”: You either typo’d the command, or it’s a command that isn’t installed by default (some tools need to be installed separately through something like Homebrew first). Not usually a sign of anything broken — just means that specific tool isn’t there yet.
“Permission denied”: You’re trying to do something that needs elevated privileges. Adding sudo before the command (short for “superuser do”) runs it with admin rights, and you’ll be prompted for your Mac password. And this is exactly where people should slow down and read the command twice before hitting Enter, not rush through it.
“No such file or directory”: Usually means you’re not in the location you think you are, or there’s a typo in the file/folder name. Running pwd and ls again almost always clears up the confusion.
“Operation not permitted”: This one’s specific to macOS’s security layer (System Integrity Protection and related privacy controls). Terminal sometimes needs explicit permission granted in System Settings > Privacy & Security > Full Disk Access before it can touch certain protected folders, even with sudo.
What Actually Worked For Me
My first real Terminal task wasn’t anything glamorous — I was trying to find a specific old file buried somewhere in a mess of folders I’d never bothered organizing. Finder’s search wasn’t cutting it for what I needed (searching by file content, not just name), so I looked up how to do it in Terminal instead.
I tried grep first, assuming it would just work the way tutorials showed it. It didn’t — I kept getting “permission denied” errors scattered throughout the output because I was searching system-wide instead of scoping it to my own folders, and I hadn’t understood that distinction yet. So that attempt was mostly noise mixed with a few actual results I could barely spot.
What actually worked was narrowing the search with grep -r "search term" ~/Documents instead of trying to search the whole drive at once — scoping it to just my Documents folder specifically. Found the file within seconds once I stopped trying to search everywhere at once. Not a groundbreaking discovery, just a “read the actual syntax more carefully” moment that took embarrassingly long to arrive at.
Advanced Fixes and Edge Cases
Understanding sudo before you use it casually: sudo grants temporary admin-level access for one command. It’s not inherently dangerous by itself — plenty of legitimate, safe commands need it. The risk comes specifically from combining it with destructive commands like rm -rf (which deletes recursively and forcefully) without double-checking the path first. sudo rm -rf ~/Desktop and sudo rm -rf / are one wrong keystroke apart and have wildly different consequences.
Checking a command before running it, if you’re unsure: Typing man [command] (for example, man grep) opens that command’s manual page directly in Terminal, explaining exactly what it does and what its options mean, without needing to search the web at all.
Killing a stuck process from Terminal: ps aux | grep [appname] finds the process ID for a specific app, and kill [PID] (replacing PID with the actual number you found) force-quits it. Useful for apps that won’t respond to a normal Force Quit through the Dock.
Checking disk space from the command line: df -h gives a quick, readable breakdown of storage usage across your drives, often faster to check than navigating through System Settings if you’re already in Terminal.
Prevention Tips
- Read any command with
sudoin front of it twice before hitting Enter, especially if you copied it from somewhere online rather than writing it yourself. - Don’t copy-paste Terminal commands from random forum posts without at least a rough understanding of what they do — this is genuinely the most common way people get into trouble.
- Use Tab-completion habitually; it prevents a large chunk of typo-based errors before they happen.
- If a command seems risky and you’re not sure, run
man [command]first or search for what it does before running it.
FAQ
Is Terminal dangerous to use? Not inherently. Most everyday commands are safe. The risk is concentrated almost entirely around sudo combined with destructive commands like rm -rf, used carelessly.
Do I need to know how to code to use Terminal? No — basic navigation and file commands don’t require any programming knowledge. Coding knowledge helps for more advanced scripting, but that’s a separate skill from basic Terminal literacy.
What’s the difference between Terminal and iTerm2? Terminal is Apple’s built-in app. iTerm2 is a popular third-party alternative with more customization and features, but it runs the exact same underlying shell and commands.
Can I undo a command after running it? Generally, no — there’s no universal “undo” in Terminal the way there is in most apps. This is exactly why double-checking destructive commands before running them matters so much.
Why did my shell prompt suddenly look different after an update? Likely a macOS version change moved you from bash to zsh (if you were on a very old macOS) or updated zsh’s default configuration. Cosmetic mostly, core commands still function the same.
Editor’s Opinion
terminal really isnt as scary as it looks once you get past the first few commands, i genuinely regret waiting so long to just try it casually. the sudo + rm -rf combo is the one thing worth actually being careful about, everything else is pretty forgiving if you mess up. just go slow at first and read what you type before hitting enter, thats basically the whole trick.
